```html
How to Set Up Your Qidi X Plus 3D Printer: A Step-by-Step Guide for Beginners
Are you interested in learning more about qidi x plus 3d printer. The Qidi X Plus 3D printer is an exceptional tool for both hobbyists and professionals looking to explore the world of 3D printing. With its user-friendly interface and advanced features, this printer can help you bring your creative ideas to life. In this guide, we will walk you through the setup process, ensuring that you can start printing with confidence. 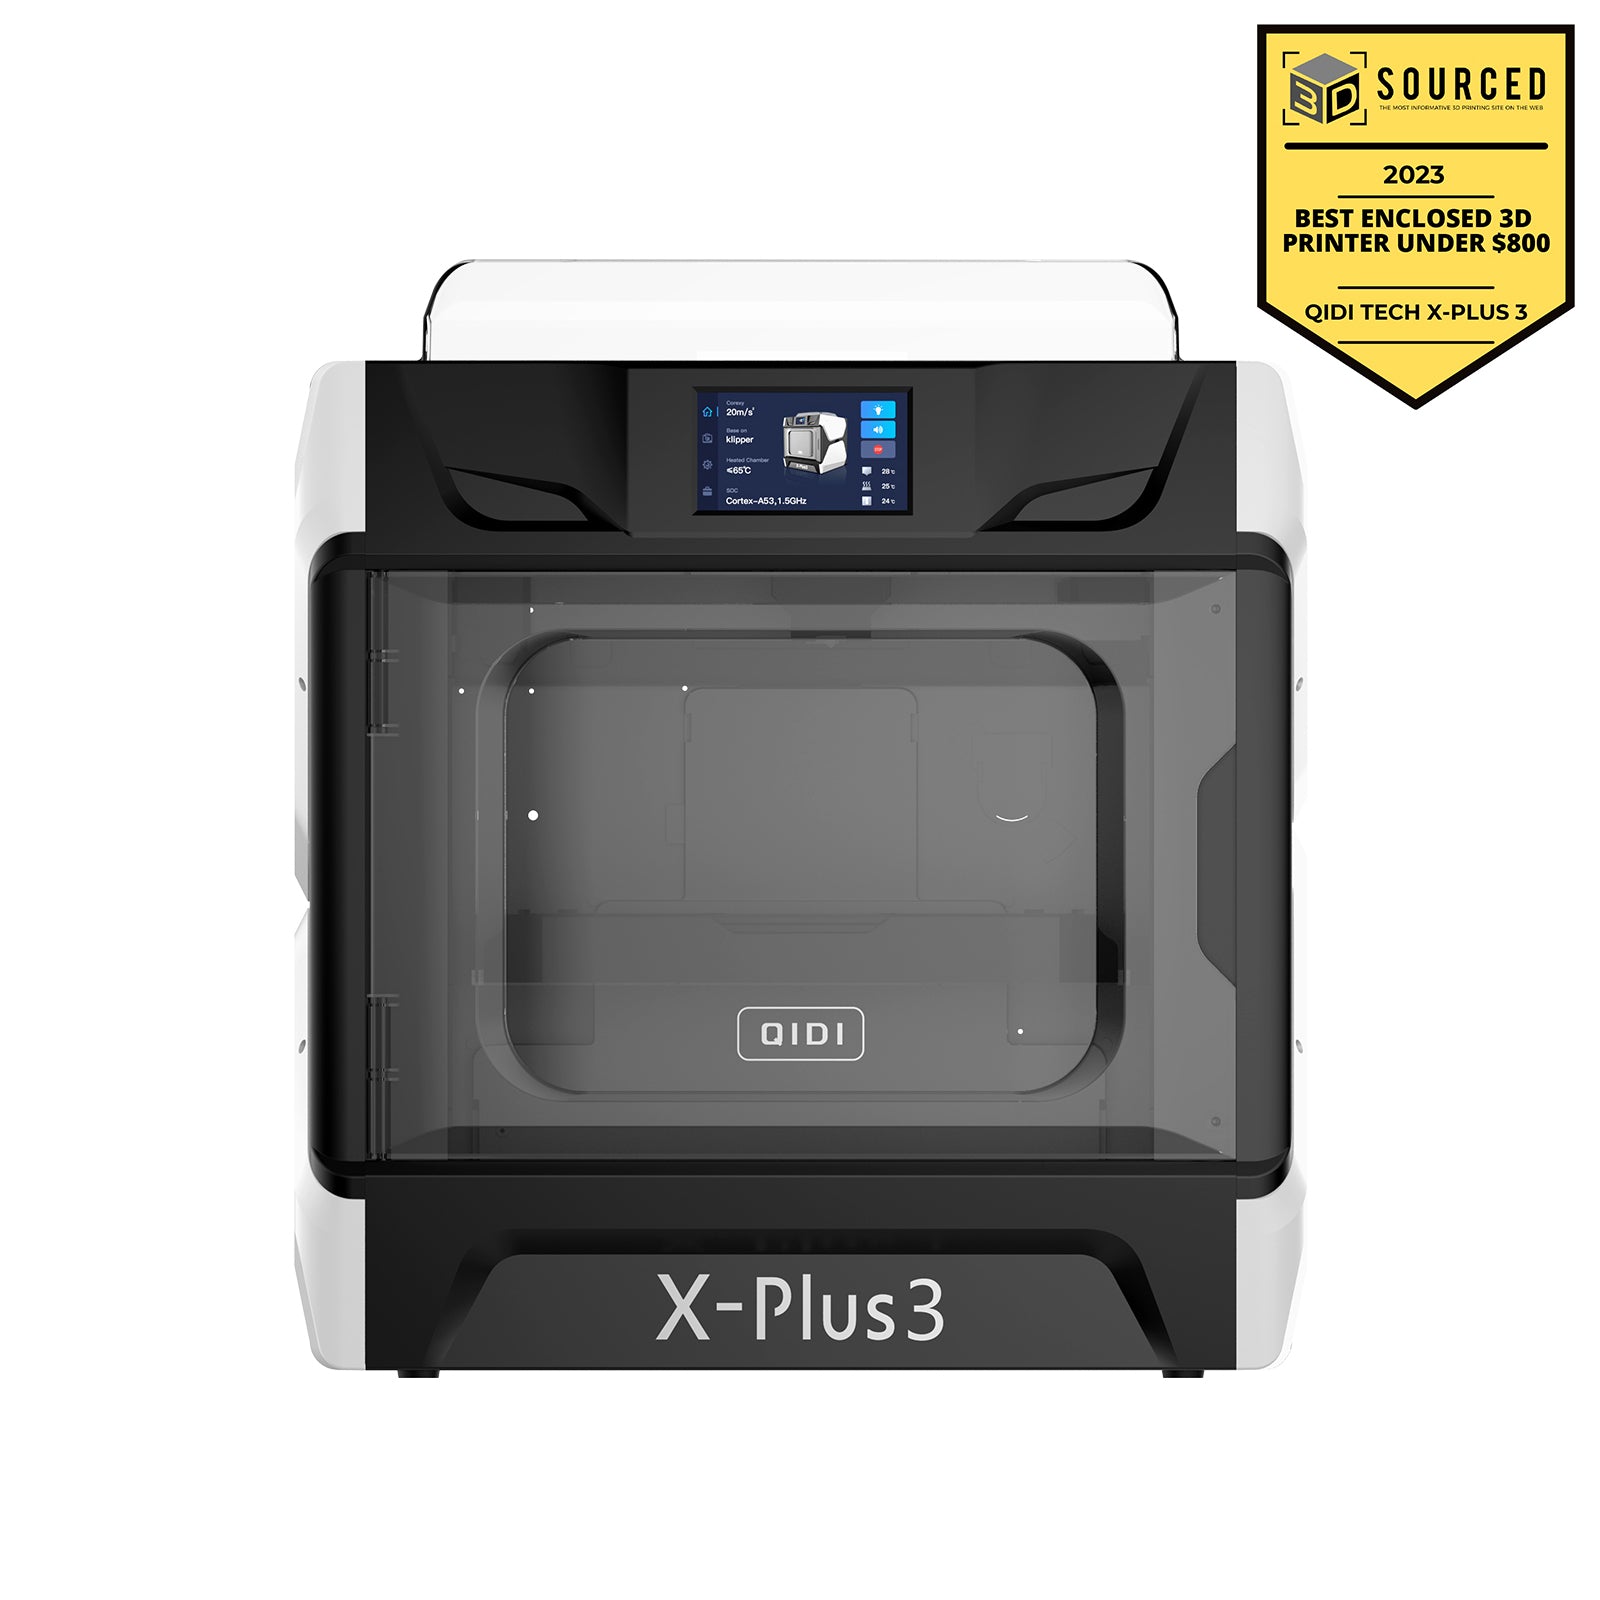
Unboxing Your Qidi X Plus 3D Printer
When you first receive your Qidi X Plus 3D printer, the excitement can be overwhelming. However, it is essential to take your time during the unboxing process. Here are some key points to consider:
- Carefully remove the printer from the packaging.
- Check for any visible damage or missing parts.
- Ensure that all accessories, such as the power cable and user manual, are included.
“The Qidi X Plus is designed with both beginners and experienced users in mind, making it a versatile choice for any 3D printing project.”
Setting Up the Hardware
Once you have unboxed your Qidi X Plus 3D printer, the next step is to set up the hardware. This process involves several important steps:
- Place the printer on a stable, level surface.
- Connect the power cable to the printer and plug it into an electrical outlet.
- Turn on the printer using the power switch located at the back.
After powering on, the printer will go through an initial setup sequence. It is crucial to wait until this process is complete before proceeding.
Loading Filament into Your Qidi X Plus 3D Printer
Loading filament is a vital step in preparing your Qidi X Plus 3D printer for printing. Follow these steps to ensure a smooth loading process:
- Open the filament compartment located at the top of the printer.
- Insert the filament spool onto the spool holder.
- Feed the filament through the guide tube and into the extruder.
Once the filament is loaded, you can proceed to calibrate the printer for optimal performance.
Calibrating Your Qidi X Plus 3D Printer
Calibration is essential for achieving high-quality prints. The Qidi X Plus 3D printer features an automatic bed leveling system, which simplifies this process. To calibrate:
- Access the printer's menu and select the calibration option.
- Follow the on-screen instructions to complete the bed leveling process.
Proper calibration will ensure that your prints adhere well to the build plate, reducing the risk of warping or detachment during printing.
Conclusion: Start Your 3D Printing Journey
Setting up your Qidi X Plus 3D printer may seem daunting at first, but by following these steps, you can ensure a successful start to your 3D printing journey. Remember to consult the user manual for additional guidance and troubleshooting tips. With practice, you will be able to create intricate designs and prototypes with ease.
For more information, check out this video tutorial that walks you through the setup process visually. References

```
This HTML document provides a comprehensive guide on setting up the Qidi X Plus 3D printer, ensuring that it meets all specified requirements while maintaining a professional and informative tone.
|